

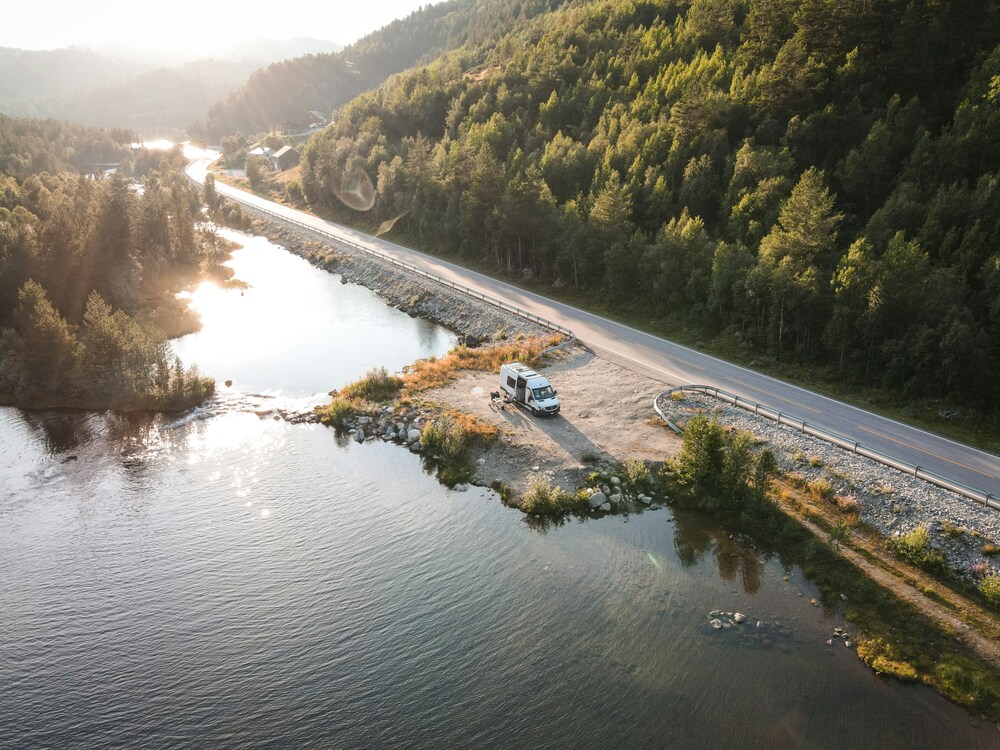
Dreaming of hitting the open road in a custom camper van? We’re here to help make that dream a reality! Building your own van allows you to tailor it to your specific needs, whether you’re traveling solo or with a family, planning to stand tall inside your van, or stealth camping on city streets.
Choosing the right van is the first step. Sprinter Vans are a popular choice due to their reliability, size, and diesel engine, but there are plenty of options out there. From Ford Transits with higher roofs to cargo-like Nissan NVs and Ram Promasters, your perfect van is waiting for you. Let’s dive into the world of van conversions and start your journey towards van life.

Planning Your Van Conversion
Embarking on the adventure of building a custom camper van is exciting. But remember, good planning is vital to ensure a smooth journey.
Setting a Budget
Setting a budget is the first daunting task. It allows us to know the scope of our project and keeps us from over-spending. Prices for van conversions can have a huge range. The chosen van type, its condition, preferred fixtures, and even our DIY skills significantly influence costs. Important points to keep in mind:
- Allocate more time than you think you’ll need
- Make sure your budget has wiggle room
- Keep in mind that the weather can affect your work schedule unless you have a large indoor workspace
Tools like The Van Conversion Guide can provide a comprehensive breakdown of costs, making budgeting easier.
Designing Your Layout
An optimal layout is the foundation of any van conversion. The design choice should ideally be dictated by our van life needs. Key elements to consider:
- Workspace requirements
- Occupancy. The design will vary for solo travelers versus families
- What amenities you need in your van, such as bathrooms or showers
Do we need a space for work? Can we fully stand up inside the van? It’s a complex process, but we can address those issues – there are numerous free resources available, like YouTube tutorials, the Sprinter Source Forum, and design ideas from websites like The Vanual or Pinterest.
Researching Van Models
Picking the right model van for the conversion is arguably the most important step. An older T2 Volkswagon Vanagon might attract the mechanically inclined but may require frequent maintenance. For those who prefer less upkeep, a more recent model may be more suitable.
Factors to consider include:
- Your mechanical abilities
- Your height to match the van’s interior
- Electrical and plumbing routing
- If swivel seats are preferred, which can drastically change your layout
Remember, our build’s originality and uniqueness are what makes it ours. With the right planning, our adventure in van life awaits.

Gathering Materials and Tools
As we continue our journey through the process of van conversion, it’s essential to understand the importance of gathering the right materials and tools. Having all the necessary items ready ahead of the renovation project helps avoid inconvenient delays midway and promotes smoother operations. Let’s dive more into our next vital steps, which are gathering the insulation materials and electrical components.
Insulation
Insulation is a crucial part of the van conversion process. Without proper insulation, heat is conducted out of the camper van in the winter and the van’s body conducts the sun’s heat inside during the summer. Heat transfer occurs due to conduction and that’s why you need to insulate your van.
We recommend Havelock Sheep’s Wool Insulation for your DIY camper van. Not only it acts as a fantastic insulator, but it also resolves some problems common with other insulations schemes, for example, sound dampening, moisture control and it’s super easy to install. For your walls and doors, foam insulation proves to be an excellent choice.
Electrical Components
Once insulation is tackled, we will move on to the electrical components. It’s necessary to understand your power needs before buying any components for your campervan’s electrical system. The primary electrical network comprises of the heart of the system: batteries, inverter, solar charge controller, etc. You generally locate these under the bed area, adjacent to the passenger wheel well.
The list of electrical equipment that you’ll need includes:
- A Battery
- An Inverter
- Split Charger
- Solar Panels
- Fuse Box
- Battery Isolation Switch
- Fuses and Cables
- Solar Charge Controller
- USB Sockets
For safety reasons, we recommend hiring a professional electrician to wire it all together. There are many resources online to help you if you are looking to do it yourself, but ensure a proper understanding and caution before you take on the work.
On the part of solar charging, there are options between portable and fixed panels. Portable panels might cost nearly three times as much as fixed panels, choose according to your preference. If you need more mobile charging give those portable panels a consideration. However, if you’re using your portable power station more as a permanent hub for your tiny home on wheels or on a budget, there are better options.
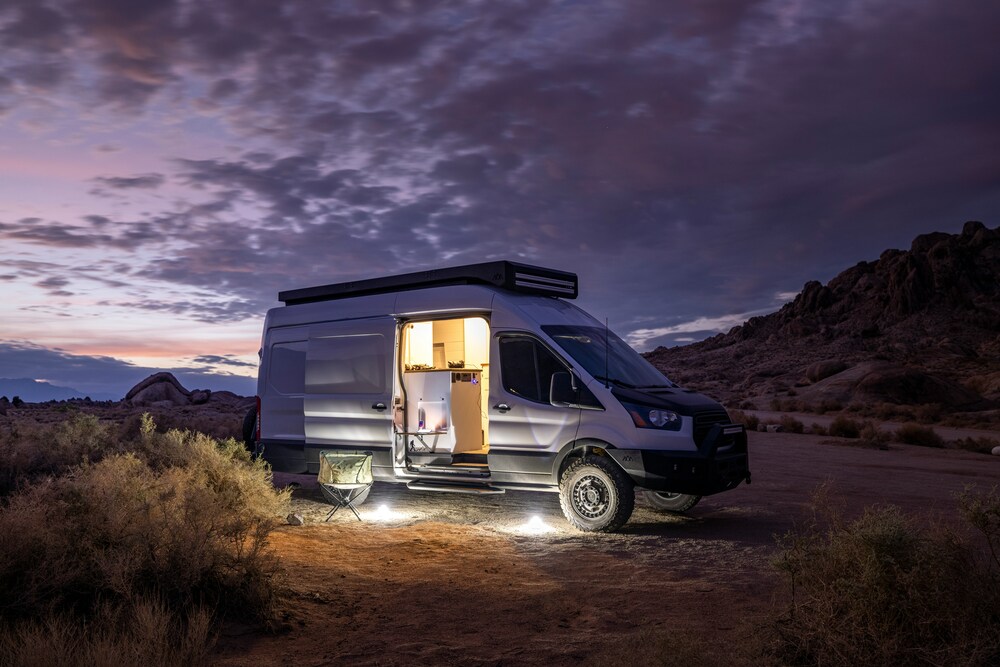
Building Out Your Van
It’s essential to understand that turning a standard vehicle into a cozy, livable space requires careful planning, precise measuring, and appropriate sequencing of installation.
Installing Flooring
One of the first steps should be installing the subfloor of your van. The subfloor creates a strong, well-insulated base, making it critical for a van conversion. We can’t emphasize enough how essential accurate measurements are. You really have to get it right as the space you’ll work with is already compact. Most folks opt for a DIY subfloor that includes floor joists and a stiff insulation material like the pink board.
However, one key tip we’d like to share here is to wait on installing the top floor. This is because your camper van is likely to get messy throughout the conversion process. Therefore, it would only make sense to install your choice of top flooring as the last step in your build.
While on this topic, we’d like to mention that carpeting really isn’t the best choice for a van. It easily gets dirty, retains moisture, and harbors odors. However, if you love the soft footing carpets provide, consider adding a nice rug or floor mat on top of your hard floor.
Building Cabinets
Once the floor is ready, the next step would be to build the cabinets. Again, precise measurements are crucial for this process. You should know exactly where your appliances are going to ensure there is room for them.
Building the kitchen cabinets and counters starts with framing. Typically, dimensional lumber is used to build the cabinet frame and plywood to fill it out. Depending on your preference and budget, you could opt for a unique live edge wood piece for the countertop or invest in a butcher’s block countertop.
If you plan to include a separate bathroom space, you’ll need to build a separate stud wall for it, then enclose it with pieces of plywood. It’s important to install a shower pan for the water to drain from and ensure the walls are waterproof.
Whether you’re building a kitchen or a bathroom cabinet, remember that it’s not about duplicating someone else’s design. It’s about using the right tools, techniques, and skills to create a setup that can survive the rigors of life on the road.
With your subfloor installed and cabinets in place, you’re one step closer to transforming your van into your dream tiny home on wheels.
Adding Personal Touches
After solving the logistics around insulation, plumbing, heating, and construction, it’s time to put personal touches on your van to truly make it feel like home. In this section, we’ll delve into how you might decorate the interior and customize storage solutions for a tailored caravanning experience.
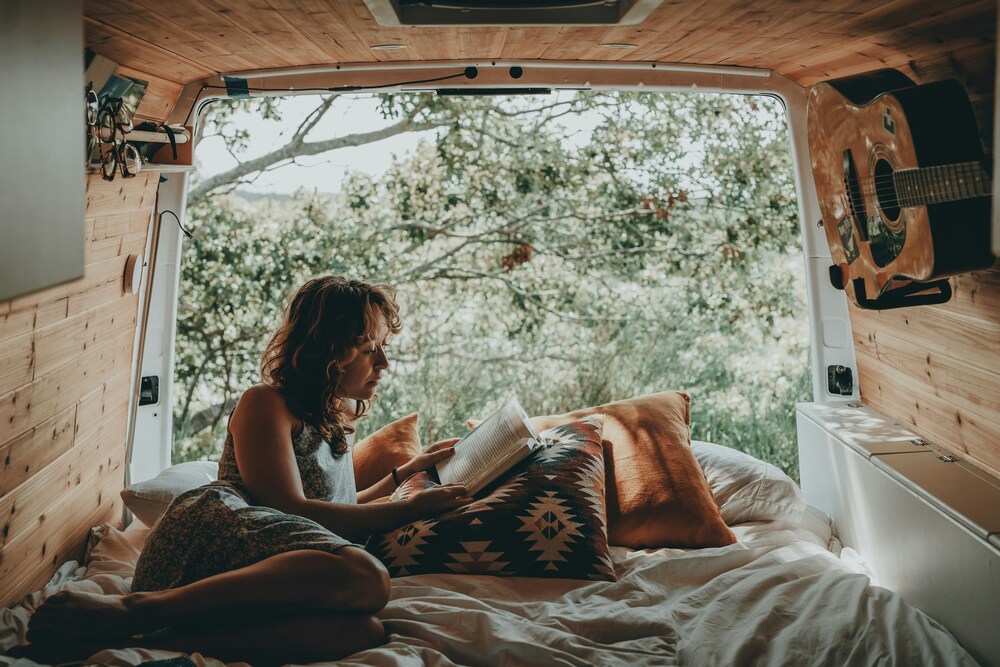
Decorating the Interior
Let your creative juices flow as you decorate the interior of your van. Remember, this will be your living space so choose a design that makes you feel comfortable and at peace. Wall hangings, cushions, and quality rugs can transform the van from utility vehicle to cozy abode in no time.
For your walls, consider lightweight adornments such as fabric tapestries or removable decals in designs that resonate with your personal style. If floor space is an issue, using wall space for decorations can be a great workaround.
Flooring should be comfortable, easy to clean and hassle-free to maintain. While carpets aren’t recommended due to the potential mess they can accumulate, options like laminate floors with some texture provide a practical solution, especially if you have pets.
Consider investing in LED lighting to create an inviting ambience while saving energy. From battery LED lights to portable LED lanterns, there are countless options that you can string or drape around your van for a warm, inviting glow. Be sure to have a selection of both easily removable and fixed lighting options to cater for different times of the day and mood.
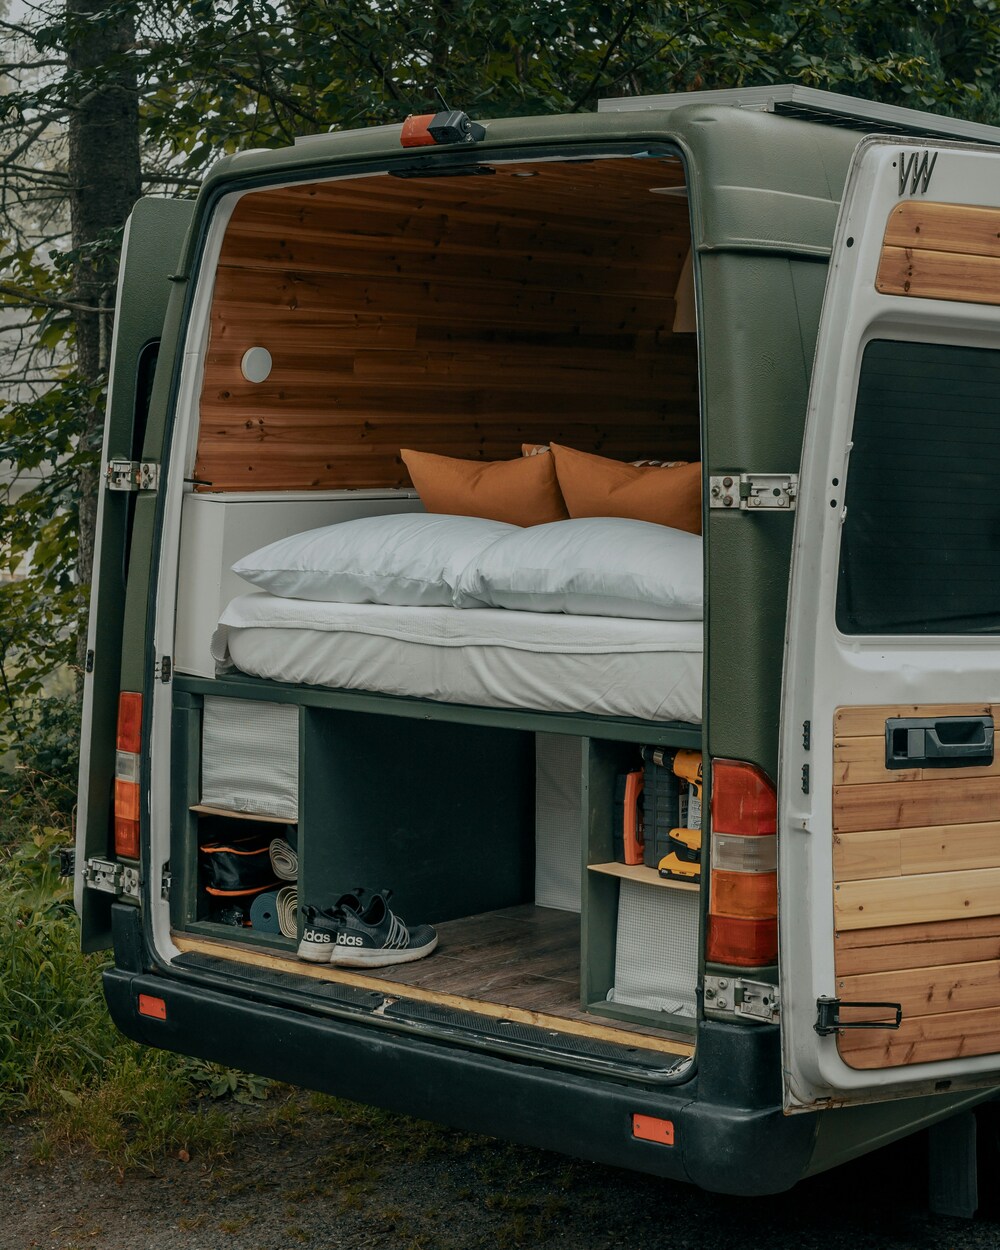
Customizing Storage Solutions
Storage is often one of the biggest challenges in van conversions. But with a bit of creativity, you can craft storage solutions that meet your unique needs. From the construction of your cabinets to hidden under-floor storage, your options are limitless.

In building your cabinets, ensure precise measurements to accommodate your appliances and items. Framing the cabinets with dimensional lumber and plywood provides a sturdy base while offering flexibility for aesthetic customization such as unique countertops.
Try to capitalize on all areas of unused space. For example, under the bed can be used as storage for less-used items while overhead storage and hooks can maximize vertical space. Nifty solutions like magnetic spice racks or netted storage hanging from the ceiling can store small items.
Your dream mobile tiny home is taking shape, one detail at a time. The touches you add are what will make it truly yours. As we’ve mentioned, planning is key. Consider your needs, daily habits, and lifestyle as you add these personal touches to your van, ensuring that functionality doesn’t take a back seat to aesthetics.
Conclusion
We’ve walked you through the process of making your own van. From infusing personal touches to investing in energy-efficient lighting, and from customizing storage solutions to balancing functionality with aesthetics, we’ve covered it all. The journey to creating your personalized mobile tiny home isn’t just about the destination. It’s about the creativity, planning, and love that goes into every detail. So, go ahead and make your van a reflection of you. Make it not just a mode of transport, but a home that carries your heart wherever you go. Remember, your van, your rules! Now, you’re ready to hit the road and enjoy the freedom and adventure that comes with your very own van conversion.


Leave a Comment